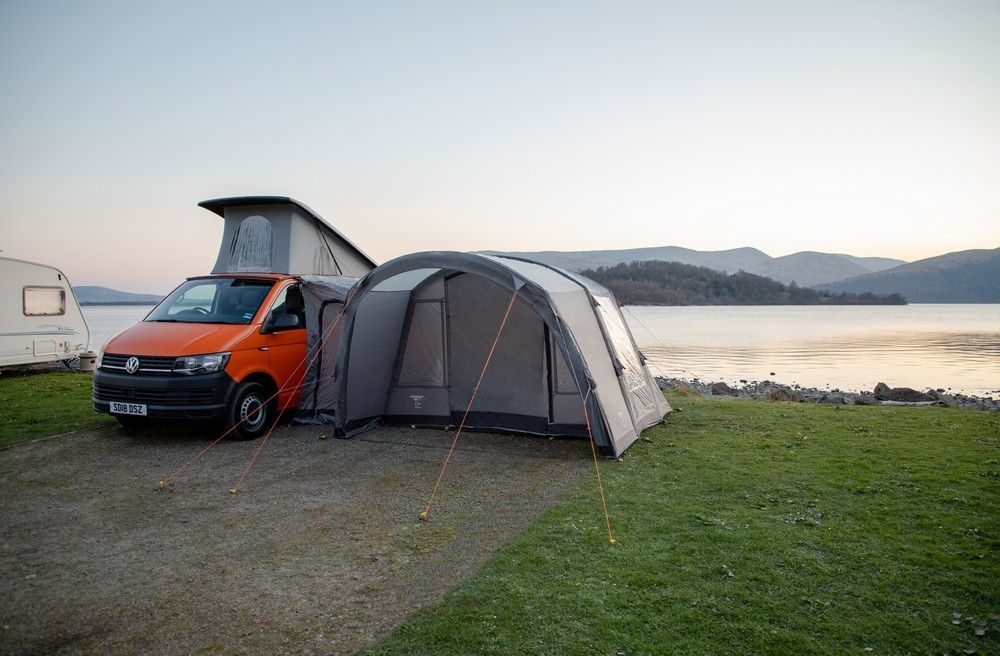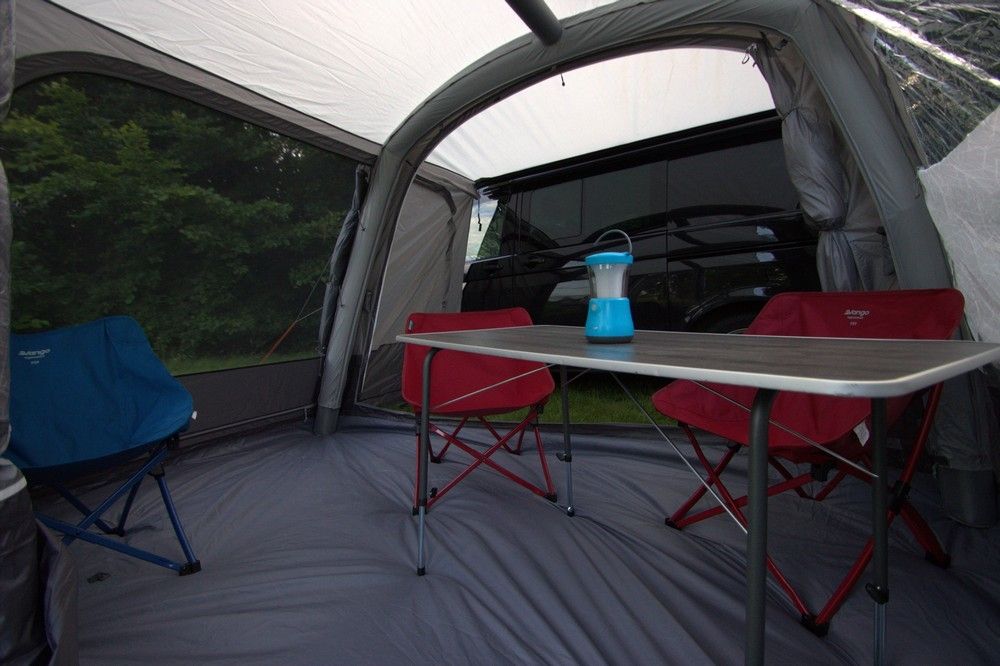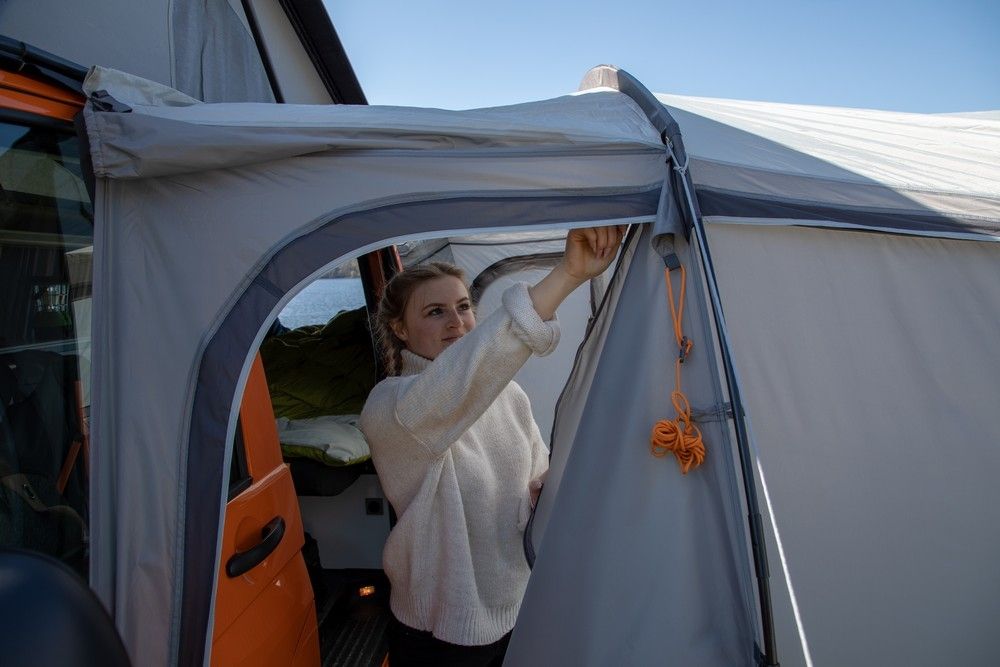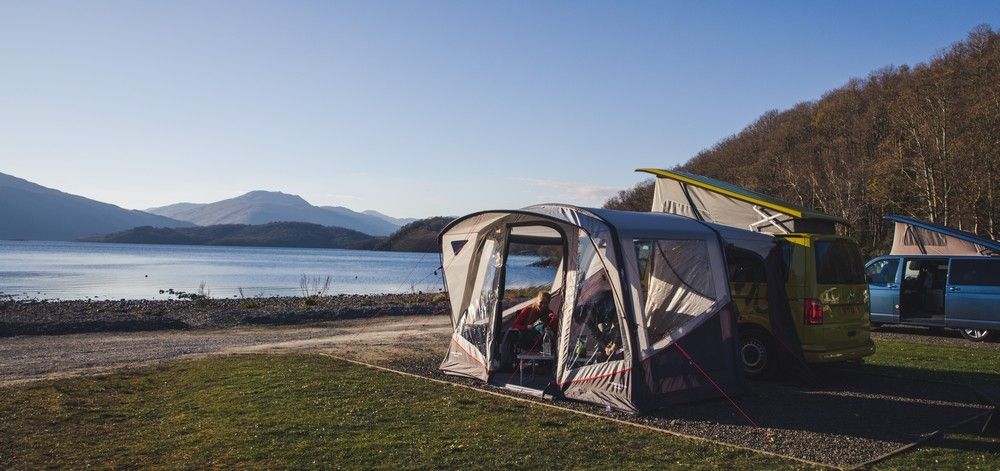
(Picture above shows awning connected directly into the van side rail, using the pre-attached Kador strip)
How to Attach a Drive-Away awning to a VW Camper Van
Four Main Types of Attachment
- Pre-attached 6mm Kador Thread
- Velcro Straps for Roof Bars
- 8m Storm Straps
- Gutter or C Rail - using pole and clamp kit.
A question asked many times at our Yorkshire showroom by campers with vans, is how to attach the awning to your vehicle securely, safely and without risk of potentially damaging the awning or the van. It's a very simple process, once you know how! There are four main ways to attach an awning to your van, all of which provide a secure fit to the side of the van, and allow varying degrees of ease, when it comes to removing the van from the awning so one can drive off-site.
A drive away awning is essentially a tent, with a connecting panel for your van, which fits over the connecting door to the van's living space. So the first thing to consider is - making sure you attach the awning to the correct side of the van!
Van Type & Height of Attachment
The first main question to ask is, do you have the right height awning for your van. If you have a VW camper van, or similar, then you will most likely require a "LOW" fitting awning, which will fit vans between a height of 180-210cm tall. Ideally, you need to measure the height from the ground to your attachment point, to ensure your awning falls within these parameters. The type of van you have is not important, as they are all very similar, whether it is a VW camper or a Mercedes Vito, the main point is to ensure the height is correct for attaching the awning.
Typically, there are four attachment methods for a drive away awning, each offering their own unique style, and serving a different type of van attachment. The main question is, what does you van have? Click on the following statement to get to the right type of attachment.
- My Van has a Thule or Omnistor Wind Out Awning fitted.
- My Van has a Fiamma Wind out awning fitted.
- My Van has a Kador Rail type attachment fitted.
- My van has roof bars.
- My van is a classic T2 style as has a gutter.
- My van has no attachment points at all.
- My Van has a pop-top - will this affect me?
1. Attaching via a Wind-Out Awning Rail
Each camper awning we sell has a pre-attached 6mm Kador strip attached to the connecting panel, which can slide straight into a wind-out awning, or a rail fitted to the side of the van. This is the most secure method of attachment, and offers greater rigidity and connection to the side of the van. Furthermore, using a fixing kit, will allow you to drive off-site much quicker, as the fixing kit, sits between the awning panel, and the van rail, and simply detaches to make fixing the awning / removing uit from the van a much quicker process. If using a wind out rail, you will see a slight gap between the awning and the side of the van, due to the nature of the wind-out rail, and its fitting onto the side of the van. See photo below.

(Fitting onto a Fiamma or Omnistor will always leave a slight gap between van and awning.)
How to attach to a Wind-Out Awning (Thule or Omnistor)
A Thule or Omnistor wind out awning, has a 6mm groove on the rear of the wind out track, allowing you to directly thread the awning into position, if you are not planning on leaving the campsite.
- Wind out the van's side awning.
- Thread the Kador strip from the awning directly into the groove of the wind-out awning on the rear.
- Wind awning back in, for a secured connection.
If you are planning on leaving the site regularly, it is wise to use a fixing kit - "6m -6mm Kit", which will allow you to detach the awning far quicker from the van. This acts as a "man in the middle" between your awning and the rail, and will allow you to remove the fixing kit, instead of setting down the drive away awning to detach it from the van.
How to attach to a Wind-Out Awning (Fiamma)
A Fiamma F45s or similar has a 4mm groove built into it, meaning you cannot attach your Vango, Outwell or Outdoor Revolution drive away awning without a fixing kit, the one you require is: "4mm - 6mm Fixing Kit".
- Attach 4mm - 6mm fixing kit to awning.
- Wind out the van's side awning.
- Thread the Fixing kit's Kador strip from the awning directly into the groove of the wind-out awning on the rear.
- Wind awning back in, for a secured connection.
3. Attaching via a Fitted Rail on Side of Van
A fitted rail on the side of your van is my preferred method of attachement, as it offers the snuggest fit from van to awning, and offers a secured fit, creating the best weather seal between van and awning. If you have a pre-attached rail of this manner, you can slide your awning straight into the rail, or you can use a fixing kit to attach it, for easier removal of the awning. (6m -6mm Kit)
- Thread pre-attached Kador strip onto the rail.
- Thread pre-attached Kador strip into the fixing kit, then attach to the rail.
- Secure the base of the awning into the ground.

4. Attaching via Roof Bars
If you have roof bars fitted to your awning, then you can attach straight onto these, as each awning comes supplied with velcro straps, which are fitted to the awning, and can be attached to the roof bars for secured fitting. There are three velcro straps, which fit along the roof bars to secure the awning. This method of attachment is very quick for attaching and removing the awning.
- Erect the awning.
- Position close to the roof bars
- Use the velcro straps to attach to the roof bars.
5. Attaching via a Gutter
Many older camper vans may have gutters, such as the Classic T2 VW camper van, which has a deep gutter running along the side of the van. More modern vans, may have a large C rail fitted, to the side of the van, which acts as a gutter type of connection. If you van has either of these, it is again, very simple to attach to your van. Each awning has a sleeve, for a pole to go through, allowing you to use a pole and clamp kit to fix your awning. (Pole and Clamp Kit)
- Erect the awning and position it.
- Thread the pole through the sleeve on the connecting panel.
- Use the clamps to clamp it into place of the gutter or rail.
6. Attaching via 8m Storm Straps
Many camper vans do not come with rails or attachment points fitted as standard, if you find yourself in this boat - not to panic! You can simply use the storm straps provided to anchor the awning down on the opposite side of the van. Each awning we supply comes with buckles, and 8 metres storm straps. Therefore, you can throw the straps over the other side of your van, and attach to the buckles as per the photo below.
- Erect the awning.
- Position the awning close the van.
- Buckle the storm straps
- Throw them over the van.
- Anchor them into the ground.
- Use Delta Pegs or Stronger pegs in wind, so they they do not come out of the ground in windy conditions.

(Photo with arrow pointing to Storm Strap Buckles, to attach 8 metre storm straps.)
7. Pop top VW Camper Vans
Pop tops are a great feature, but they can make attaching an awning to your van a little trickier, essentially, they leave you with two main options. The fitted rail for the 6mm kador thread or the Storm Straps, which can go around the pop top to tension down the other side of the van.
- Use the storm straps, and carefully position them around the sides of the pop top.
- * Use a rail on the side of the van for greater security, and a stronger fit. (preferred option)

Hopefully, this guide will have been some use, dissipating some of the fog and confusion around how to connect your awning to your van. Always remember, the storm straps, can pretty much be used in any situation, but they are less effective than the stronger attachment methods. If you are still unsure, or need further advice, please feel free to call us on the number in the contact pages, or drop us an email.
